
![]()
Sign In:
1. To add transcription move your mouse to upper right corner click on either of the small triangle buttons to drop down a menu and select “Video Manager.”
2. Select the video and click the Edit button to add transcription
3. Once you’ve found a video that is not captioned, click on the triangle button next to Edit. This will drop down a menu. Click on Captions.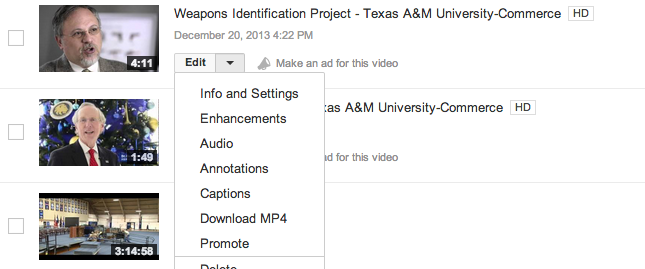
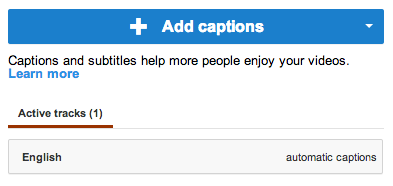
Automatic Captioning Not Provided
4. If automatic captioning is not provided click on the down arrow on Add captions and select Transcribe and sync. 
5. You can upload a file containing captioning. Use a plain text document, (file extension.txt) and upload the file. After the file is uploaded, check to see that it has synced up properly with the video. Use the same functions as listed through steps 7 – 10.
6. Play the video and as you start typing it stops the video.
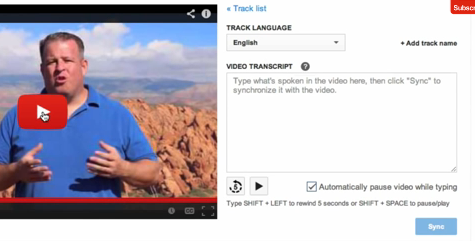
a. If you press Shift+Left arrow it takes it back 5 second.
b. To pause video, press Shift+space key
7. When video is transcribed, click the Sync button
8. Now you have two active tracks
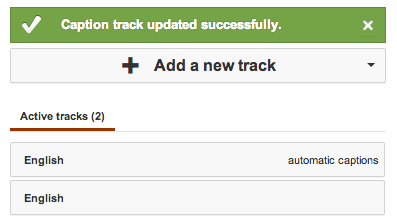
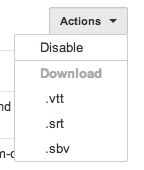
9. Now, you need to get rid of the automatic captions by clicking on Actions and click on Disable
10. Let’s review the transcript, click on Active tracks and press Play
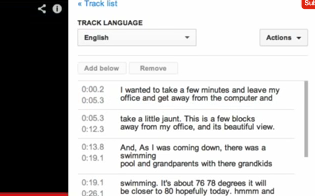
11. Listen to the video and correct any spelling or grammar mistakes as you go. If you need to change a time stamp, make sure that the new time does not overlap the other. For example, if the new start time for a caption slot is 15.3 seconds, make sure the end time slot on the previous caption slot is 15.3 or earlier.
12. When you are done captioning the video. Click Save changes.
13. If no captions show up or if you have a script you can upload the file, just Click “Add Captions” and “Upload a file.” 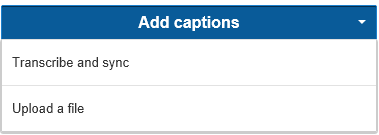
14. Use a plain text document, (file extension .txt), and upload the file. After the file is uploaded, check to see that it has synced up properly with the video. Use the same saving functions as listed through steps 12-13.
Automatic Captioning Provided
15. Once you’ve found a video that is not captioned, click on the triangle button next to Edit. This will drop down a menu. Click on Captions.
Once you’ve found a video that is not captioned, click on the triangle button next to Edit. This will drop down a menu. Click on Captions. 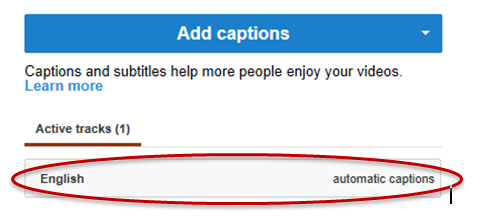
16. Listen to the video and correct any spelling or grammar mistakes as you go. If you need to change a time stamp, make sure that the new time does not overlap the other.
a.For example, if the new start time for a caption slot is 15.3 seconds, make sure the end time slot on the previous caption slot is 15.3 or earlier.
17. You will note the automatic closed caption is not accurate. Let’s clean up the caption.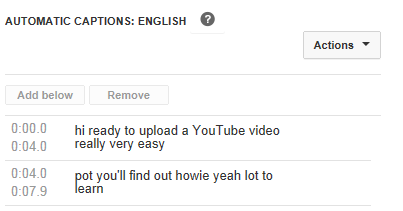
a.Click on the play button and listen to the audio.
b.Click anywhere on the captioning text window and began editing. This will automatically stop the audio/video.
c.Often, the automatic captioning in YouTube captured will provide incoherent sentences. It is important to enunciate your words or you may simply edit the caption.
d.When you are done captioning the video save your work. Click on the ‘Save a copy’ button. 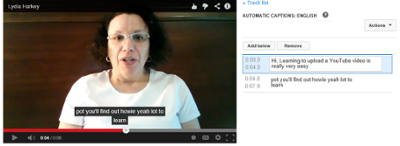
18. You will now see a second caption slot on the active tracks. Note, this will take a few minutes for YouTube to upload the new track.
19. Click on the “English automatic captions” again
20. Select the ‘Action’ button and click on “Disable” to disable the automatic captions.
21. This will take you back to the captions that are disabled. Click the new active track that you just made and name it “Good” using the actions menu. Save this and you are done!
22. If you do not see any captions, you may have to write your own. You will need to use the same functions for ‘Automatic Captioning not provided’ beginning with Step 4.
 Downloadable Version